Saturday, December 17, 2011

Goi Cuon (minus the diacriticals)

Vietnamese Summer Rolls

For any fan of Asian food, these are a treat and simple to make.

The Rice paper is made from just ground rice and water. The batter is poured onto a fine fabric stretched over a large pot of boiling water. It is tilted or scraped out to the right thinness if needed and left to cook quickly in the rising steam.  It is then lifted from the fabric and left to dry on a woven bamboo mat. Viet World Kitchen has a better description and pictures of the process. One of Martin Yan's cooking episodes also shows the process.

There are different sizes but for this dish, the round ones about 8 inches across are the ones I prefer.  When you're shopping for the papers, pick up some rice paper trays. These are round perforated plastic trays, about 9-10 inches across. These trays make softening the rice papers simple and also simplify rolling.

If you can't find the trays, you can soften the papers by hand and roll them on a dampened cloth towel.

I tend to make a meal of these and let everyone roll their own with what they want in them. The trays make this possible. Without the trays, I used to pre-roll all the goi cuon myself.

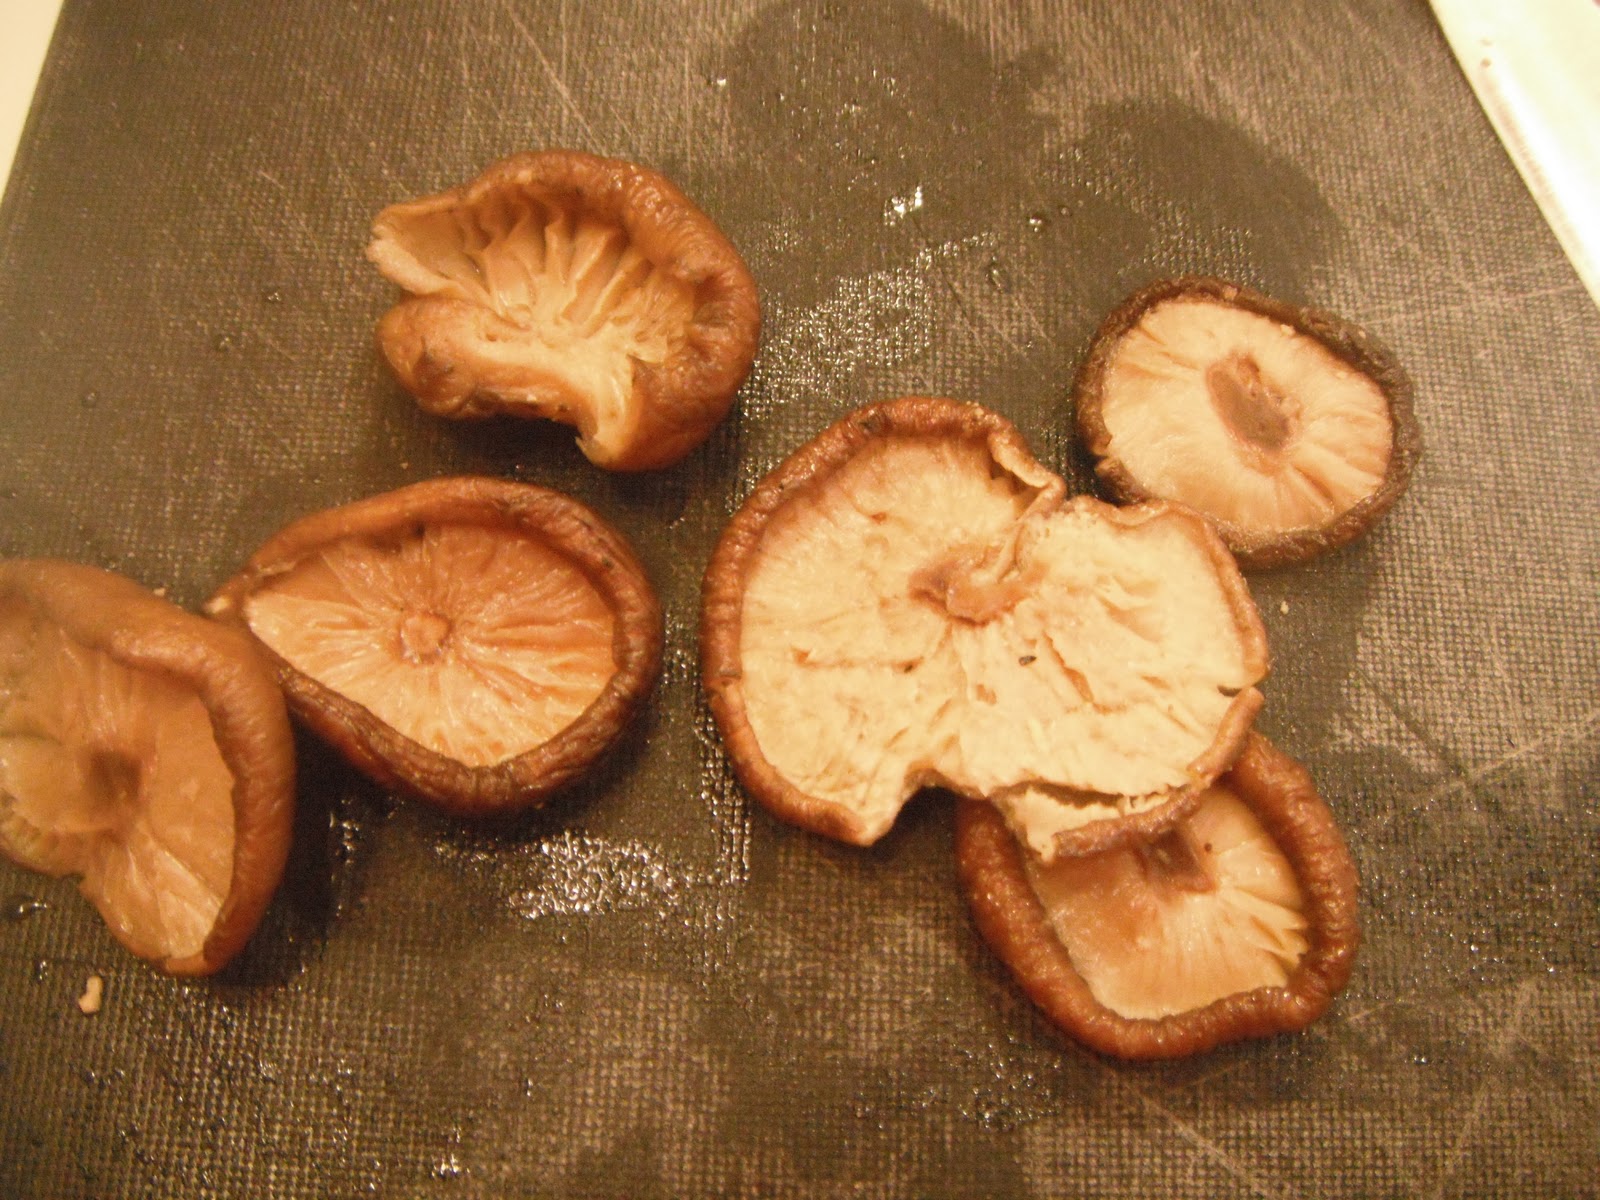
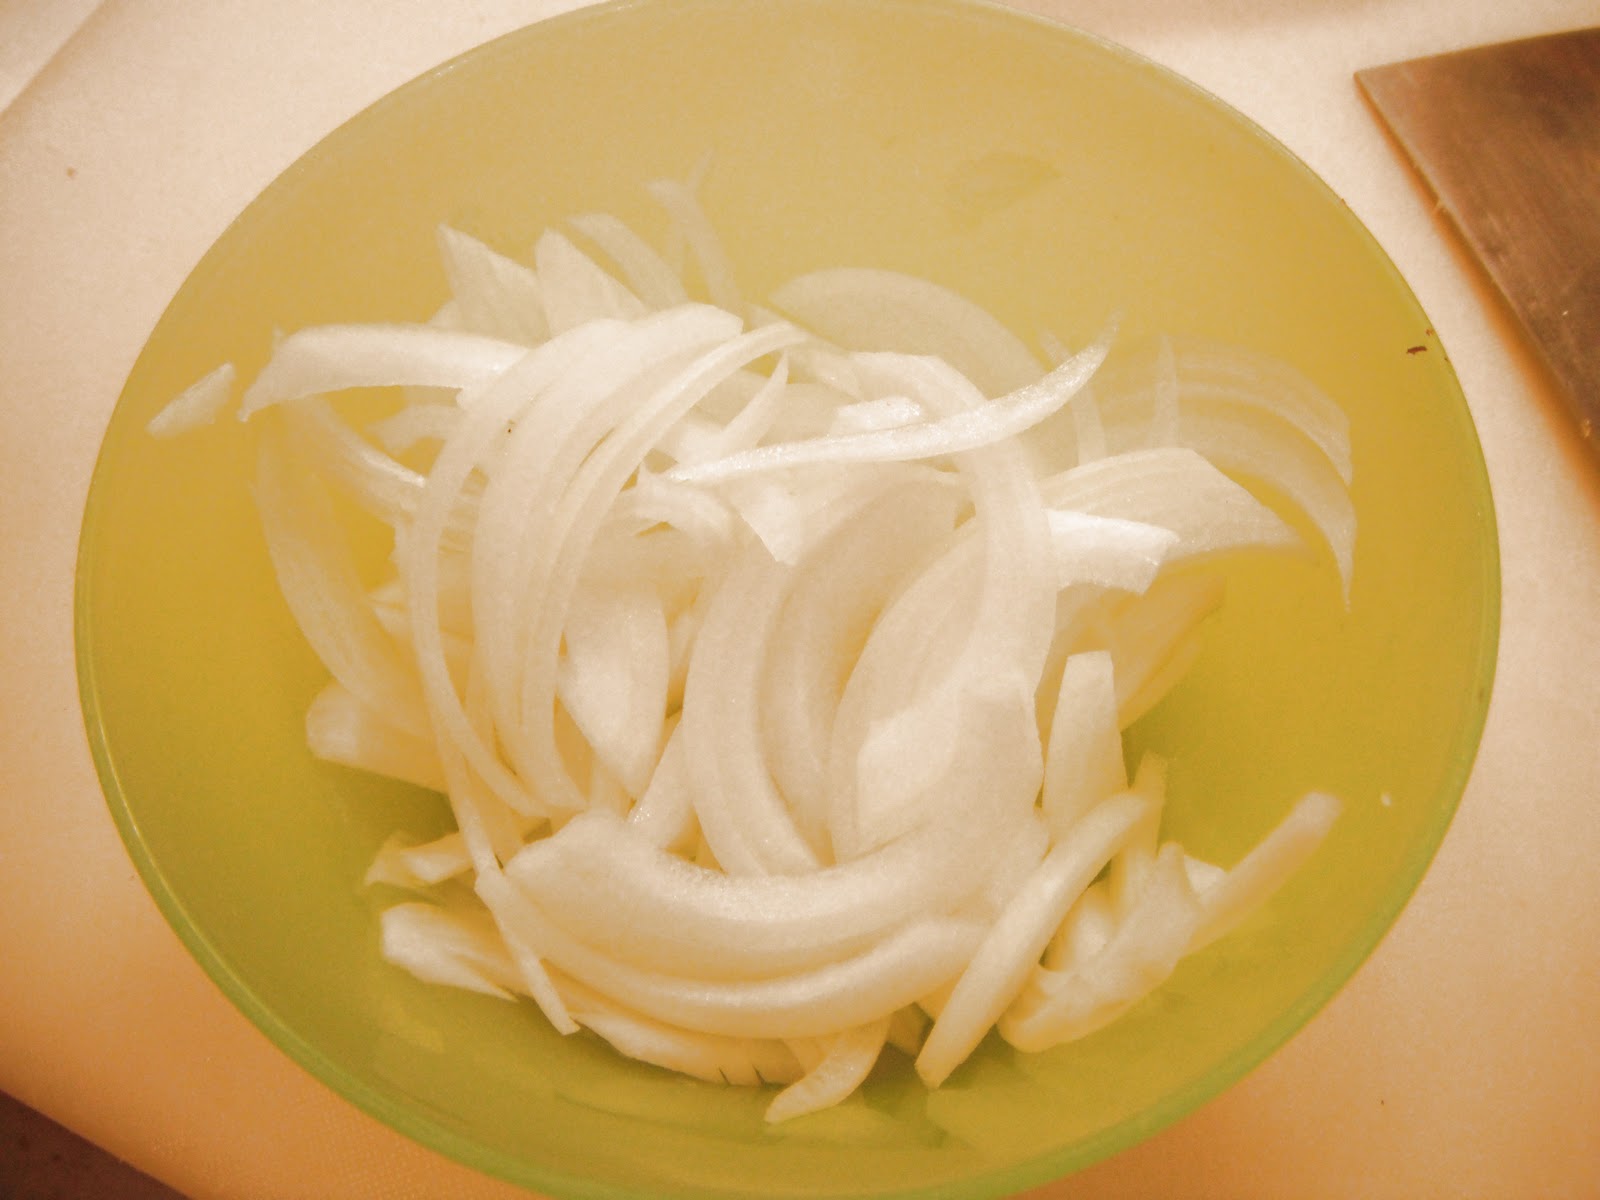
Many different fillings are possible. Generally you'll have a meat or seafood, some herbs, lettuce of some sort or another, rice noodles and a sauce. For this particular meal, I used some char siu I picked up at Costco. I usually keep a package of this in my freezer for quick meals like this. Some sliced cucumbers, rice noodles, a spring mix salad (Costco again) and some Basil and Cilantro. I usually have some Nuoc Cham on the table for people to season their rolls with. A peanut sauce is also commonly used, but my taste preference is the Nuoc Cham.


Prepare the Nuoc Cham (See next blog post) I prepare this first to give the garlic some time to infuse the sauce.  I made a bowl you can see in the background of some other shots, but here's just a spoonfull I'll use for my servings.


Soak the rice noodles in hot water. When they're soft, drain away the hot water and coat them with a little toasted sesame oil so they don't stick together in one bunch. While they're soaking, you can do some of the other prep, but keep an eye on them so they don't get too soggy.


Slice the Char Siu and cucumbers.


Prepare the herbs, in this case some basil and cilantro. Mint, lemon balm, culantro, ra rahm, and many other herbs are good here too.


If you're using a whole leaf lettuce, this would be a good time prepare the lettuce. Here, I used a commercially available spring mix of lettuces. If you don't have trays for the rice paper, you might make a roll, then roll it again in a whole leaf of lettuce. This keeps the rice paper from sticking to other rolls on a plate or to the plate itself. They can be quite tenaciously sticky.

I had my daughter prepare the rice papers while I did some of the other prep. But with the trays it goes pretty fast. I prefer to lay a sheet on each of the trays I'll be using and stack them up.  You'll see that I have two different sizes of papers as I was finishing off the tail ends of two different packs of rice sheets. The larger sheets just barely fit on the trays.


Then I take one extra tray that I use to encase each rice paper as I soak it in the hot water. Below, my daughter spins each cased rice paper through the hot water.


I reuse that extra tray for each sheet of rice paper. Then I stack each softened tray of rice paper for use during the meal.


We prepared 15 rice papers. In the course of the meal itself, you'd take a tray with a softened rice paper and lay it on your plate. Then you'd start to add the different ingredients. What ever you put on first will be the presentation surface so it's common to use a colorful ingredient first. Quite often, you'll see three shrimp laid out.  Here I laid on some Char Siu strips.


Then cucumbers.


Basil and Cilantro


Rice noodles.


A stack of spring lettuce mix. I'll be squishing this down in as I roll it up so don't worry that it's overfilled.


 Now roll it up burrito style. Fold the bottom up onto the lettuce and compress a bit as needed.


Fold in the right side,  again compressing as needed.


Now the left side.

And roll it the rest of the way up. Notice the Char Siu is now on top and displays nicely through the rice paper.


Set the tray aside and you can now dip or drizzle on the Nuoc Cham and enjoy your goi cuon.


Overnight Jook in the Slow Cooker

Jook or Congee is probably  the breakfast eaten by more of the world than any other food for breakfast.

This is my preferred method for making Jook. I like the convenience and texture it produces rather than using leftover rice as is sometimes done.


It is quite simple. 1 cup rice, 8 cups water in the slow cooker. Cover.  Set it on low for about 8 hours or overnight.

The rice swells up and forms a pulse or mush of the rice grain. In the slow cooker, the individual grains remain visible, though they'll dissolve the instant you disturb them. I've never got the same swelling and thicker texture when using leftover cooked rice and prefer to make it from raw rice.


And here is where I depart from tradition more strongly. I like to season it as well while it cooks.

So i use my Tea Ball Infuser. I put in clove of garlic, peeled and crushed; two or three thin slices of ginger; a few black peppercorns. I also add about 3 tablespoons light soy sauce and about the same amount of Shao Hsing wine to the water. I also usually cook a chicken thigh or cheap bone in pork chop right along with the rice. This seasons things up and some shredded cooked meat is a nice addition to the jook.

This specific morning, I used some leftover Char Siu from the Goi Cuon in the morning for the protien. I didn't add it to the cooking rice.


I was out of green onion for the garnish so I cut a few slices of onion and let them cook in the jook as well.

Once the rice is cooked, it's time to serve. There are some common garnishes used at this point.

  • the cooked shredded meat or fish
  • sliced green onion
  • light soy sauce
  • rice vinegar, though my preferences run to black vinegar in this case
  • toasted sesame oil


 Stir it up and enjoy.

The same ratios work for brown rice too, but it's a little thinner as there's not as much starch in a cup of brown rice.  You can see how brown rice beef congee turns out here.

Nuoc Cham

Nuoc Cham is a common seasoning at the table for many Vietnamese meals. It goes together pretty simply too.

Juice of 1 lime
4 cloves garlic, peeled and sliced thinly
4 tablespoons fish sauce
3-4 tablespoons water
sugar
thinly sliced red chiles for heat to taste

I'll often simplify and add about 1 tablespoon of sweet chili sauce instead of the sugar and chile. Just simpler though it shifts the color of the sauce.

Let the garlic steep in the mixed sauce for at least 20 minutes. At home, I often just leave the garlic in the sauce. For more formal presentations you should strain out the garlic, but include a few slices of chile for color.


Monday, December 12, 2011

Simple Chinese style soups

The great thing about Chinese Soup is that they're fast. Rather than cooking for hours, things often cook for just 15-20 minutes. They're easy to put together with whatever you have on hand that you feel like eating together.

There was an episode of MasterChef where Gordon Ramsay talks to one of the contestants about this wonderful broth she's created. He says you did in 45 minutes what would take a normal cook hours. Well, she did it faster than that and Gordon just showed he didn't know what goes on in a Chinese stock or soup, specifically a red cooking broth. And he got worse with it later on when he was critiquing the final dish. 

Soups come down to stock. Yes it's best to make your own. Absolutely. In the real world, most of us don't. A good low sodium base is my recommendation and I've been using Better Than Boullioun Organic Low Sodium Chicken Base for a while now.  But Chinese stock has a somewhat different flavor profile so I tweak it with some extra things, usually garlic, ginger and a little star anise. By using the tea infuser, I can easily remove these things when I need to while simultaneously working on the soup itself. In this case, simmering the dried chinese mushrooms.


I've got a quart and a half of water, 1 1/2 teaspoons of the chicken base, the loaded infuser and the mushrooms I'll be using in the soup. 


Bring that to a simmer and let it go for about 15 minutes. 

Meanwhile, prepare some of the other ingredients.

Bamboo shoots are delicious and fun. I prefer to buy a vacuum pack over the canned. They taste better.  Slicing them yourself lets you stock one type of bamboo and slice or shred yourself as you need for the dish at hand.


Section to length. I'm cutting them about 1 1/4 inches long.


Slice thinly into planks, then across the stacked planks into a julienne or shred as wide as it is thick. 


Green onions chopped on the diagonal give flavor and color to the dish. Se aside and add at the end for best flavor, color and texture.


Remove the mushrooms and the infuser if the stock has the scent and flavor you want. Or leave it in if you want more intensity. Watch it though so the anise flavor doesn't become too dominant.  Squeeze out excess liquid over a bowl. Let the liquid settle. Return the top part of the liquid to the soup, but stop pouring before any of the grit that settled out can enter the soup.


Meanwhile, cut off the stems and julienne the mushrooms.


Return the mushrooms to the pot along with the bamboo.

Pork is often used for meat, flavor and texture. Here I'm using a few slices cut from a "sirloin tip roast". It's an inexpensive lean muscle and quite versatile.


Slice it like you did the bamboo and mushrooms, into thin strips. 


Add it to the pot.

Season the soup with about 3 tablespoons of light soy sauce, 2 tablespoons of Shao Hsing wine, 2 tablespoons black vinegar and some ground black pepper to taste. You might recognize this as weak version of Hot and Sour Soup and you'd be right. But my kids don't like all that heat, nor the sour bite. At least not yet. So this lets me gradually work them up to it. And it's still pretty tasty. 

Let this simmer for about 5 minutes until the meat is done, then bring to a boil. You can thicken it with a cornstarch slurry if you like at this point.. Mix an equal amount of cornstarch and water, 2 - 3 tablespoons of each is about right. Stir into the hot soup. It will thicken just as it returns to the boil.  

Quickly beat an egg. There are many ways to add the egg to form the egg drop ribbons or flowers. The method I've had work best is to stir the soup and pour in a thin stream. While stirring, pour the beaten egg in a slow thin stream from about 18 inches above the pot. Add a teaspoon of toasted sesame oil, the chopped green onion, stir and serve.


Friday, December 2, 2011

Chicken and Broccoli, Simplified

For this dish, I was using up leftovers. I had a large chicken breast leftover from a package and some steamed  broccoli (otherwise unseasoned).  


This is a dish where velveted chicken is a nice touch. Velveting is related to passing through oil in that a lower temp oil blanching is done, but the other half of the technique is the egg white and cornstarch marinade. Those ingredients provide a buffer from the hot oil and let the meat cook with a tender texture, thus the term velveting.


Marinade for Velveting


1 egg white
generous pinch of ground white pepper 
generous pinch of sugar
teaspoon of corn starch 

Whisk to combine the marinade ingredients. The corn starch will clump so be thorough in the mixing. 


1 large chicken breast, about 8 oz, sliced thinly

An almost frozen chicken breast is more easily sliced thinly. But a sharp knife is more essential in my opinion. This breast was sliced straight from the refrigerator.


Add the sliced chicken breast to the marinade. Let marinade about 10 minutes.


Meanwhile, prepare the broccoli and aromatics


1 teaspoon minced ginger
1 clove garlic, minced
1 1/2 - 2 cups steamed broccoli florets cut into bite size pieces
3-4 tablespoons oyster sauce


 Heat 1 1/2 - 2 cups of oil to about 275 for the velveting of the chicken. If you're using  flat bottomed wok, you'll need at least 2 cups of oil, maybe 2 1/2.


When the oil is at temperature you get a lazy stream of bubbles coming up from a wooden or bamboo chopstick in the oil. 


Stir the chicken in the marinade to loosen it up. You don't want it to cook into a solid mass in the oil blanching. Add half the chicken to the hot oil. Stir immediately with chopsticks or tongs to separate the strips of chicken into separate pieces.  Cook just until all the pinkness is gone, 30-45 seconds. Remove the chicken and let drain well. Let the oil reheat for a few minutes and repeat with the last batch of the chicken.

Pour the hot oil into a heat proof container. I usually use a small saucepan on the stove and pour the oil through a fine strainer to catch any small bits of meat or marinade.

Wipe out the wok of excess oil. You can leave about a tablespoon worth in the lower third of the wok or wipe clean and add a tablespoon of fresh oil when the wok is hot for stir frying. When cool, you can pour into a jar and cap for using a few more times for deep frying or passing through oil.

Because the chicken is half cooked, the broccoli only needs reheating, the cooking will be quite rapid. Have everything you need at the ready.

With the wok hot and the oil added, add the velveted chicken to the wok. Stir fry for about 90 seconds to finish cooking the chicken. Add the aromatics and broccoli, stir fry another 2 minutes or so to bring the brocolli to temperature and infuse it with the garlic and ginger flavor. Lastly add the oyster sauce to give just a light sheen to the chicken. Serve immediately.

If you're working with raw broccoli, then stir fry them first for about 90 seconds. Add 2 tablespoons rice wine, cover and let steam for about another 90 seconds. Then add the aromatics and chicken. Stir fry until the chicken is one, another minute or two and season with oyster sauce.


Certainly other versions of the dish abound with a more complicated sauce usually and often without the velveted chicken. They can be very good too.

Here, however, I'm showing that leftovers from other meals can convert into a good chinese dish quite simply. This way of looking at leftovers will help you cook more economically and with greater variety.

Tuesday, November 29, 2011

Soy Sauce

Soy Sauce is a staple ingredient for cooking throughout Asia though it originated in China. 

Soybeans are cooked; mixed with flour and a specific mold as well as salt; covered in water and allowed to ferment. Sometimes other things are added like sugar, alcohol and caramel color. 

There are regional differences of course. Japan generally uses more wheat flour to create their preferred flavor profile. Though they also produce wheat free tamari soy sauce. Indonesia uses a thicker and stronger soy sauce and so on.

For China, there are primarily three soy sauce types: Light or Thin, not to be confused with Lite or reduced sodium; Dark, Black or sometimes Thick soy; and a Mushroom variety of Dark soy sauce.  There is a Thick soy that's different from Dark soy as well, but it's not commonly encountered.

Wikipedia summarizes their characteristics well:

  • Light or fresh soy sauce ( shēngchōu or "jiàngqing") is a thin (low viscosity), opaque, lighter brown soy sauce. It is the main soy sauce used for seasoning, since it is saltier, has less noticeable color, and also adds a distinct flavour. The light soy sauce made from the first pressing of the soybeans is called tóuchōu (simplified Chinese: 头抽; traditional Chinese: 頭抽), which can be loosely translated as first soy sauce or referred to as premium light soy sauce. Touchōu is sold at a premium because, like extra virgin olive oil, the flavor of the first pressing is considered superior. An additional classification of light soy sauce, shuānghuáng (), is double-fermented to add further complexity to the flavour. These last two more delicate types are used primarily for dipping.
  • Dark and old soy sauce ( lǎochōu), a darker and slightly thicker soy sauce, is aged longer, contains caramel, and may contain added molasses to give it its distinctive appearance. This variety is mainly used during cooking, since its flavour develops during heating. It has a richer, slightly sweeter, and less salty flavour than light soy sauce. Dark soy sauce is partly used to add color and flavour to a dish after cooking, but, as stated above, is more often used during the cooking process, rather than after.
    • Mushroom dark soy ( cǎogū lǎochōu): In the finishing and aging process of making dark soy sauce, the broth of Volvariella volvacea mixed into the soy sauce and is then exposed to the sun to produce this type of dark soy. The added broth gives this soy sauce a richer flavour than plain dark soy sauce.
Going through my various cookbooks and looking for recommended brands these are the results.

Light Soy Sauce

Kikkoman is the first pick of Grace Young and Barbara Tropp. Tropp also likes the reduced sodium Kikkoman. While Kikkoman has a wheatier, sweeter profile than most Chinese soy sauce it is nearly universally available and quite compatible in the role of Light Soy Sauce. I've used plenty of Kikkoman in the past. It's a fine product but I prefer more Chinese-oriented flavor profiles over this.

Koon Chun Thin Soy Sauce is an equal pick for Eileen Yin Fei Lo and Bruce Cost's recommended brand. I've done some testing with this brand and it is a quality brand. Good complexity and nuanced flavors. High salt content for my situation though. If you use this soy sauce, pay special attention to balancing flavors as you finish the dish. Use less if cooking from my recipes as it will be overly salty. Alternatively, you can increase other flavorings to bring it into balance as well, but that's a trickier path. 

Pearl River Bridge Superior Light Soy is an equal pick of Bruce Cost and respected by Barbara Tropp though she prefers Kikkoman. This soy is often recommended on the internet and is the soy sauce I've used for some years now. It's lower in sodium than most other brands which is one reason I use it. Beware though, the bulk plastic jugs of this soy sauce are rated about 600 mg/tablespoon more sodium per tablespoon than the glass bottled soy with the same label. I don't know why. My recipes are based around this brand.

Yuet Heung Yuen Soy Sauce is preferred by Eileen Yin Fei Lo and Mai Leung. I've not noticed this sauce in a local store yet.

I did a taste test of Koon Chun, Pearl River Bridge and Kikkoman Reduced Sodium Soy Sauce. It was enlightening as it taught me the perils of taste tests. Whichever soy sauce you used to develop the recipe will taste the best in that battery of recipes.

Amoy First Extract Light Soy Sauce is one I've been playing with for a few days now. It's only slightly saltier than the PRB. In comparing the flavors it has a more balanced nuanced complexity. However, it also contains sugar and caramel color. First extractions are normally used only in dips and not for cooking. I do think the nuances would be lost under heat and other flavors and best reserved for dipping. It costs more than the Pearl River Bridge as well.

See this update about Pearl River Bridge.

Soy sauce is inexpensive and it's worth conducting your own taste tests to discover what you like best. 


Dark Soy Sauce

I've not experimented as widely with dark soy. It's used almost purely in cooking and it's nuances aren't as clear used that way.
Amoy is the preference of Mai Leung though she differentiates her preferences among dark, double black and mushroom dark soys.

Koon Chun Double Black Soy is Eileen Yin Fei Lo's pick. 

Pearl River Bridge Mushroom Dark Soy is recommended by Mai Leung, Barbara Tropp,  Bruce Cost  I've mostly used PRB mushroom for my Dark Soy  but don't have a strong preference in this category. It gets a lot of votes from respected authors though.

Yuet Heung Yuen  Double Black for Mai Leung as she differentiates among the different types of dark soy

The preponderance of using the Mushroom variant for all Dark soy uses is one I practice too.


History of Soy Sauce is a worthwhile source for details about soy sauce.

Also my update on soy sauce testing, http://itsallabouttohappen.blogspot.com/2013/10/soy-sauce-choices-2013.html

Saturday, November 12, 2011

Onion Pepper Beef

You'll see this dish occasionally in restaurants and buffets, but not as often as I think this dish deserves. It's a good dish to start with for cooking Chinese food as it's fairly straight forward and needing only a few ingredients.You might think of it as a Chinese pepper steak with onions.

3/4-1 pound flank steak, cut thinly across the grain

Steak Marinade
1 tablespoon ShaoHsing wine
1 tablespoon light soy sauce
1/2 teaspoon minced ginger

Oil for passing,  about 1 1/2 cups for a round bottomed wok, 2-3 cups for a flat bottom wok


Oil for stir frying, about 1 tablespoon
1 onion sliced julienne
2 cloves of garlic, minced
2-3 green onions sliced thinly on the bias
sugar,  pinch
freshly ground black pepper to taste
Splash of soy sauce as desired


Prepare the steak. If you're not using a steak already pre-proportioned, then section it as follows.


Cut the flank steak in approximate thirds along the grain.

Wrap the other two pieces of steak in plastic wrap and refrigerate or freeze for other use.
Slice thinly across the grain.


Combine the beef strips with the marinade ingredients and let marinade about 15 minutes.


Meanwhile, prepare the rest of the ingredients. Cut the onion in half from root end to sprout end. Peel off the dried skin. This particular onion has a bit of a bad section  I'll need to trim out. The rest of the onion is fine.


Now cut the half into quarters, again from root to sprout end.


Slice along the tall sections for about 3 slices. Then flip the onion so what was the bottom is now vertical and slice it again 3 or so times, repeating the flip every few cuts. This produces the most even julienne working with the natural form and layers of the onion.


Repeat with the other half of the onion

Slice the green onions on the bias and set aside. 

Have the sugar, pepper and soy sauce at hand

Heat the oil in the wok for passing, between 275 and 300 works well.

Drain off any excess marinade from the beef. Add the beef to the oil stirring to separate the individual slices of beef. Cook just until all the pink is no longer visible. Remove the beef and drain well. Pour the hot oil into a safe container to cool. I usually use a sauce pan on the stove for holding the hot oil, pouring through a fine strainer to catch any bits of food. I'll reuse this oil a few times. Wipe out the wok, there is too much oil still on the surface for the rest of the stir fry in my opinion

Return the wok to the heat, turning the heat to high. When the wok is hot, add the tablespoon of oil to the wok, drizzling it around the sides to give the best distribution of oil to the wok. 

Add the onions and stir fry until they just begin to soften. Add the garlic and return the beef to the wok. Stir fry adding sugar and black pepper. Be generous with the pepper. Then add the green onions, toss a few times to heat everything up. Drizzle a little soy in and serve immediately.

You may see this dish with julienne bell peppers as well. That too is a good dish.